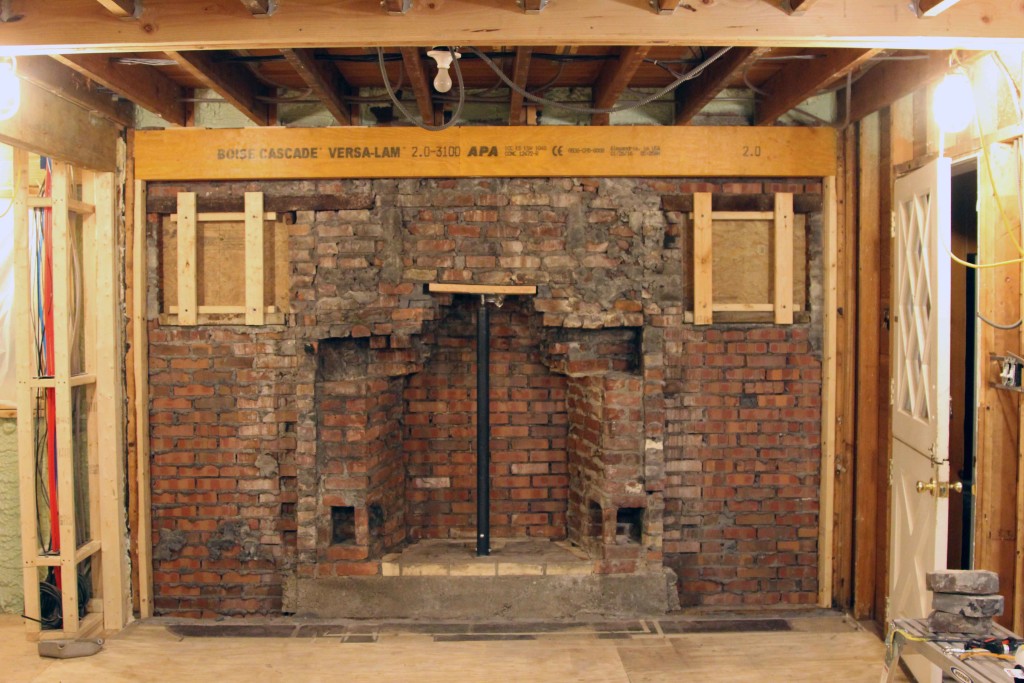
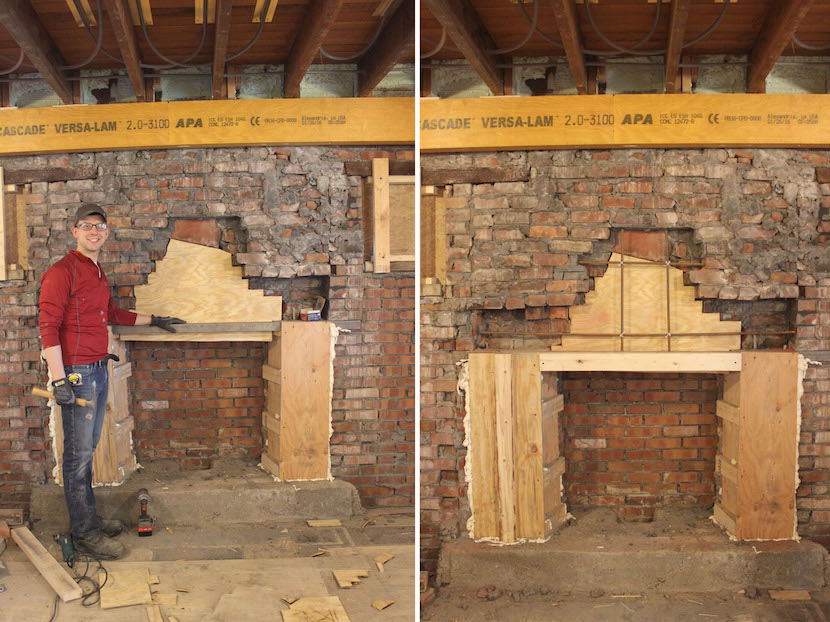
Ever feel like you are working a project that just refuses to end? Well that is exactly how our fireplace project seems to be going. Its been 3 months since we started what we thought would be “quick weekend project” before putting up the drywall on our downstairs walls. Well after discovering the rotted wall behind the original stone fireplace, we took a step back, evaluated our options and came up with a whole new plan.
Once all the original stone was down, we basically had a clean slate to work with. We actually had a professional fireplace company come and give us a quote on fixing it, and the representative told us it would be impossible to take out the metal firebox, and then quoted us thousands of dollars for the job. No thanks! (Later that evening, between the two of us we managed to take out the box ourselves) We’ve played with many different options and we came up with a design plan that we both really like. In order to achieve the look we want, we had a ton of prep work to do before we could frame the fireplace wall. We agreed that we want to have a wood burning stove in our fireplace, instead of a gas insert or traditional wood burning fireplace. The next step in fireplace reconstruction was to fill in all the gaps that were in the wall where old broken brick and sand had been before.
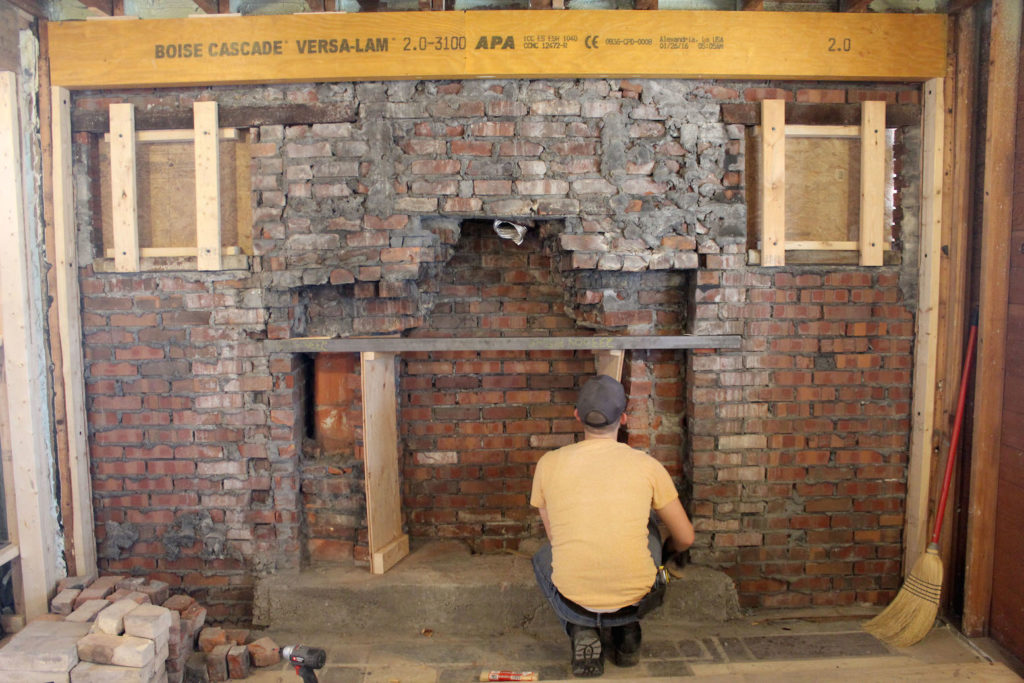
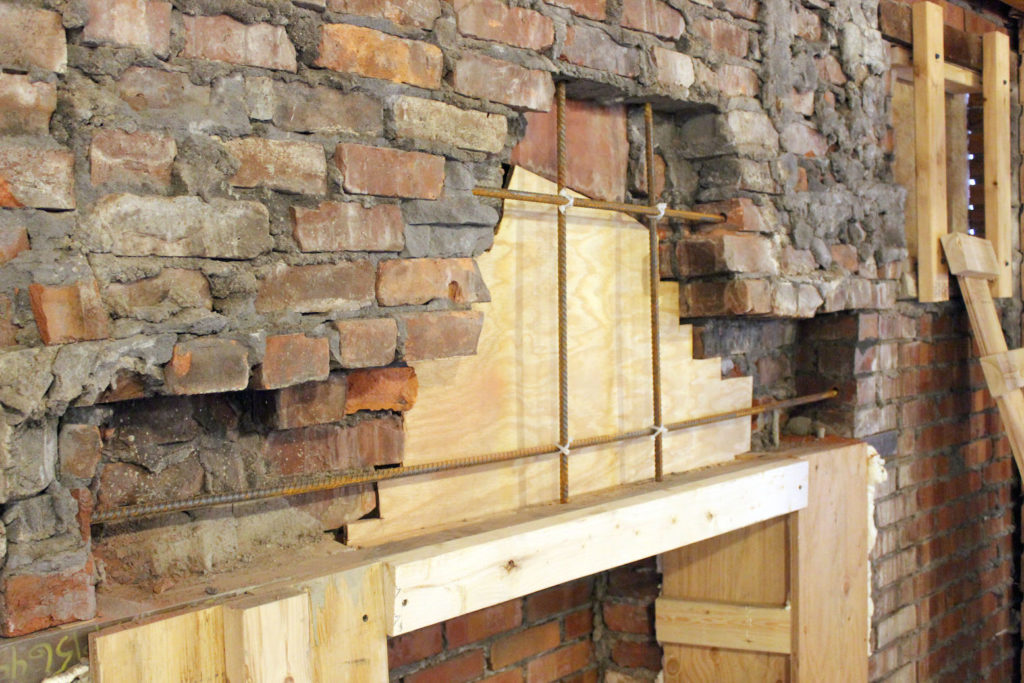
Since the fireplace itself will only be housing the wood burning stove, it does not require complex and expensive refractory (high-temperature rated) materials to refurbish that a normal fireplace would. Instead, it just needs to be non-flammable materials. The simplest way we could figure out how to do that was mix several iterations of concrete and pour into temporary wooden forms one bag at a time. Brandon meticulously measured out the gaps in the wall to build the forms, put rebar in as reinforcement, and we poured the concrete. We did all of this in three stages, each layer after the previous one hardened.
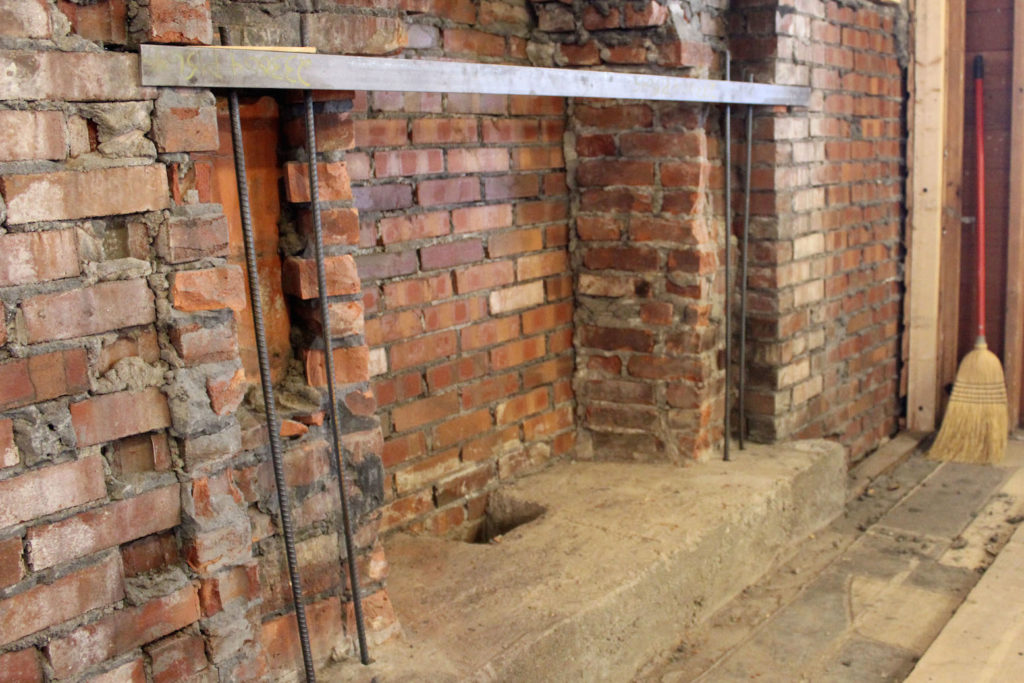
^ Rebar to reinforce the concrete, and the angle iron lentil bar to support the opening.
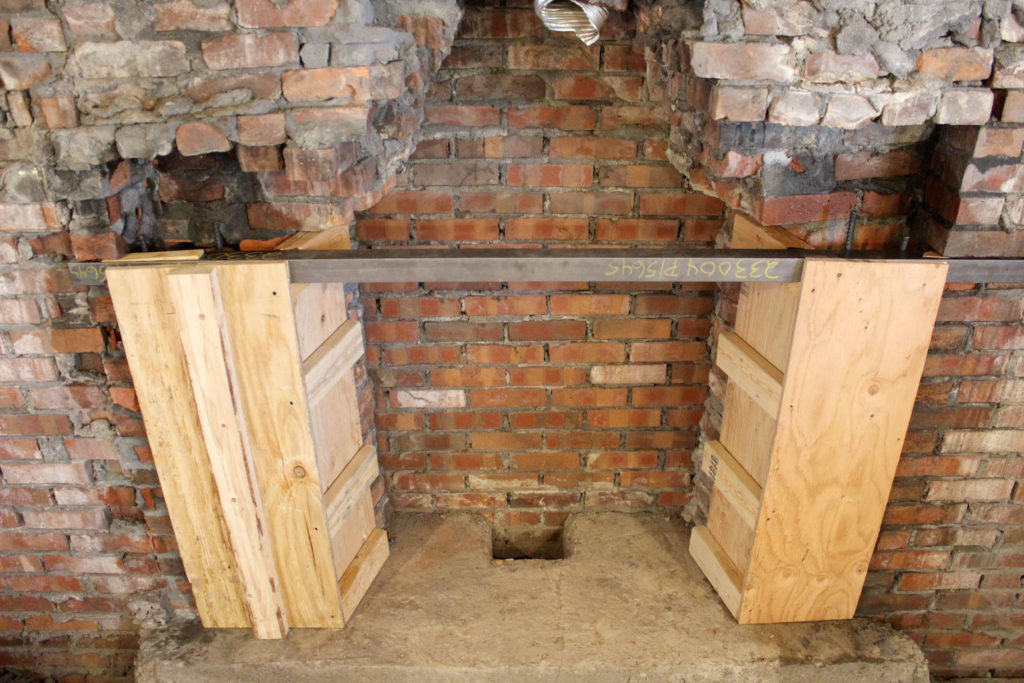
^ The first set of concrete forms
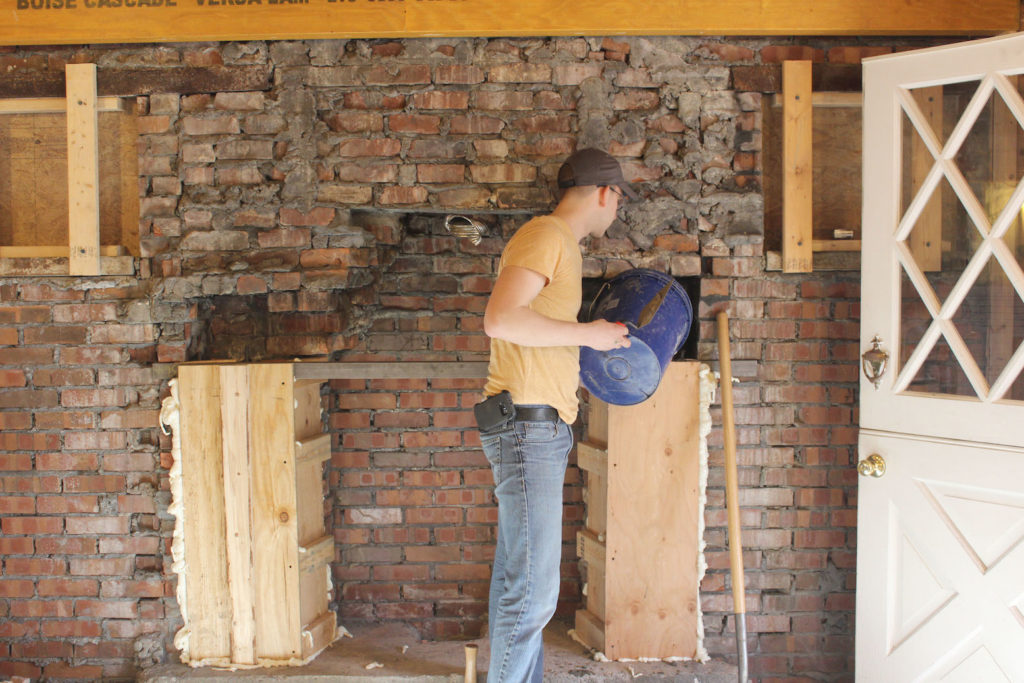
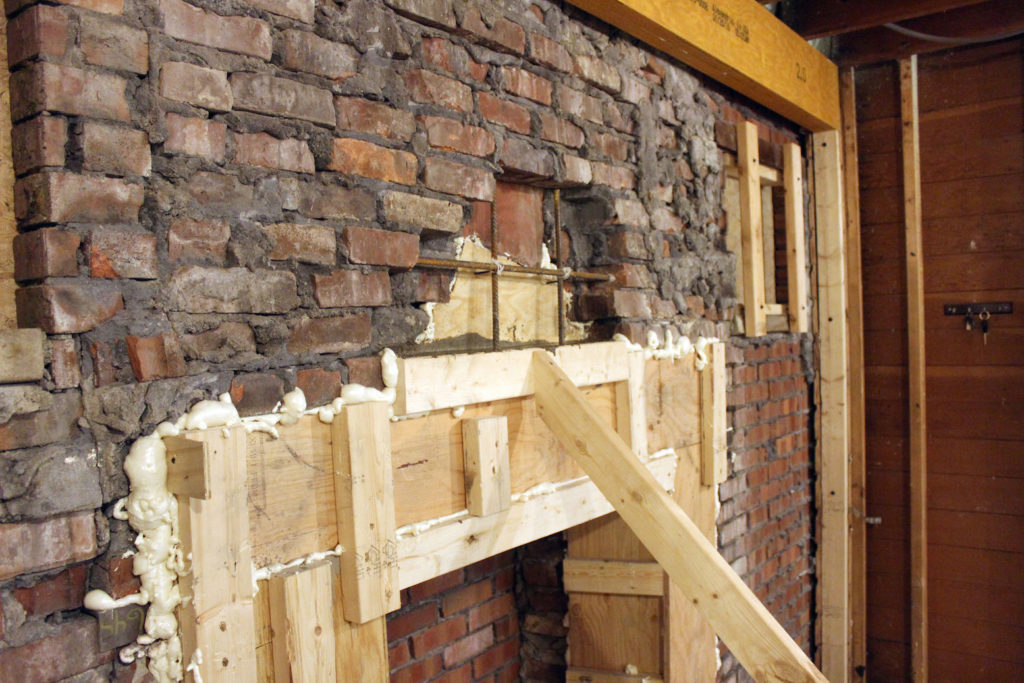
^ In between stages, we used ‘Great Stuff’ to seal any cracks.
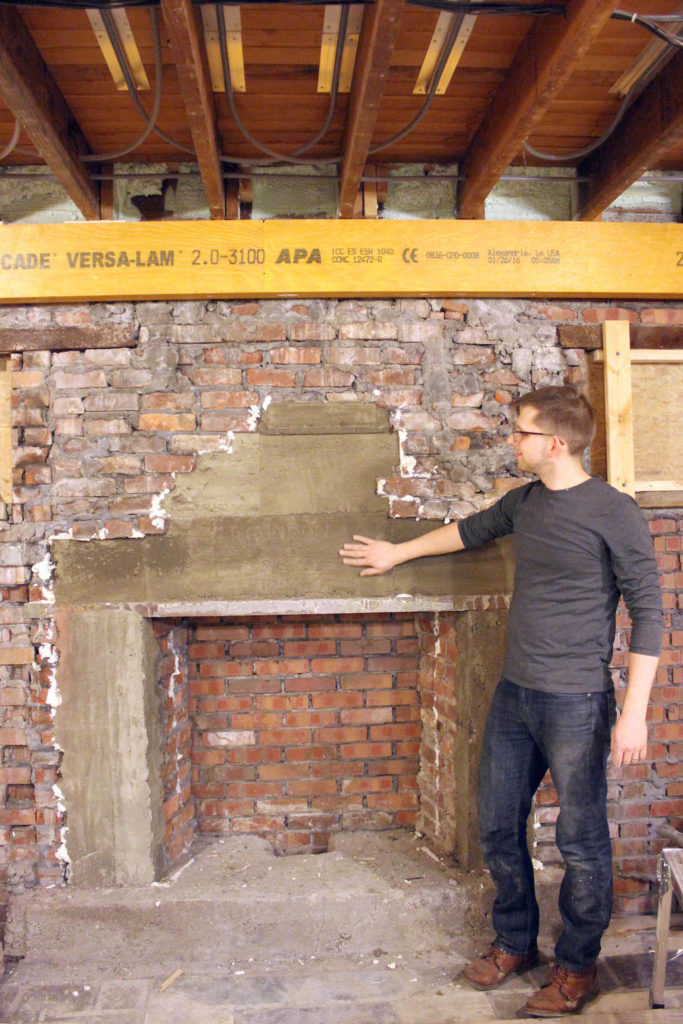
^ The finished look- no more gaps!
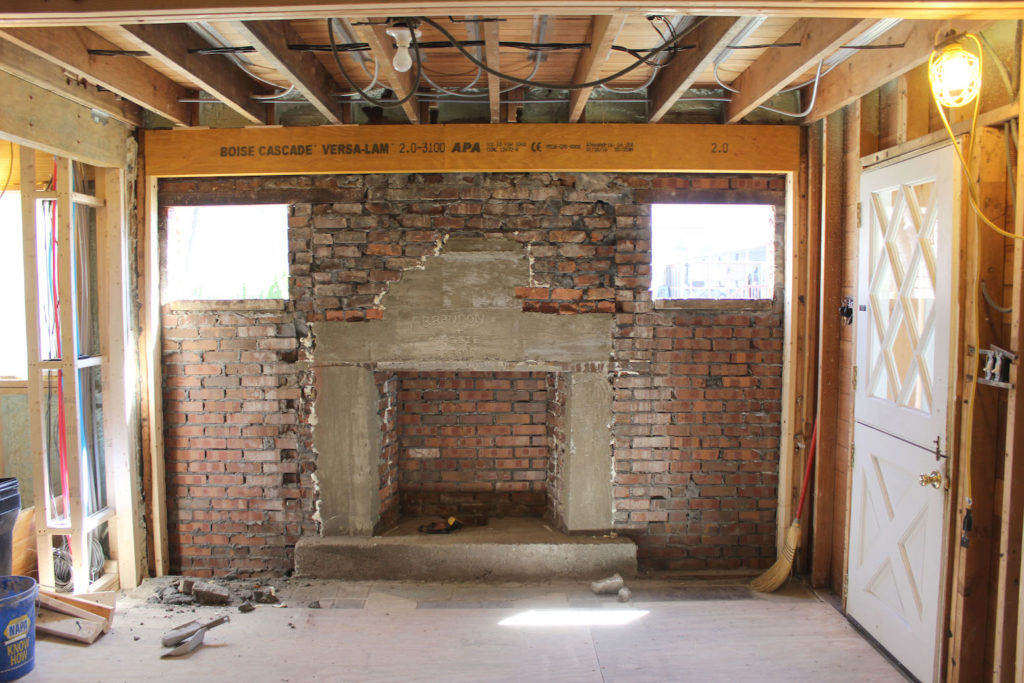
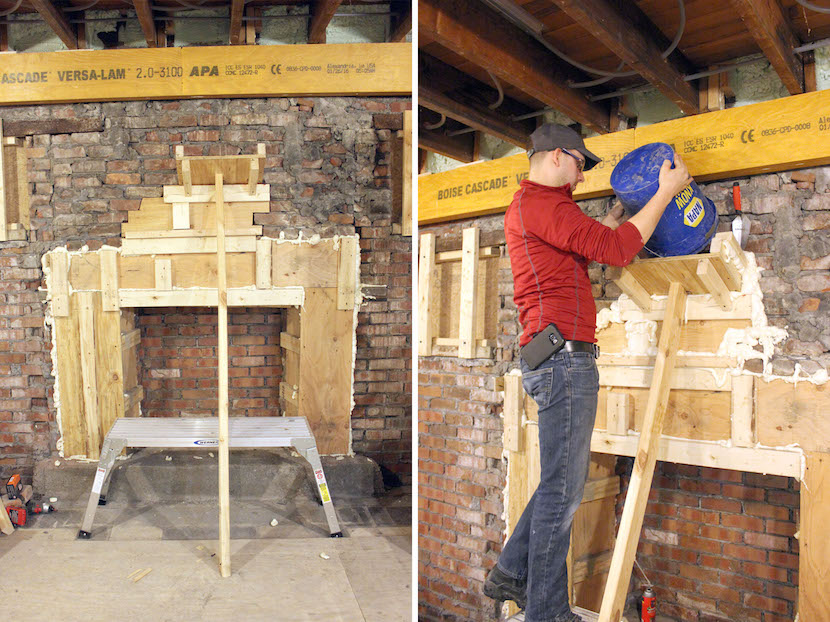
We’ve made major strides since these photos above were taken. The view that you see here is now covered by a newly framed wall and we completely changed the look of the windows. Stay tuned for the next installment of this short fireplace series- it keep getting better!